IDE Compilation Environment
Currently, two IDEs are available for users to choose from::
1、Eclipse
环境要求
The Eclipse version must be Eclipse IDE for C/C++ Developers 2021-12 (4.22.0).
The CDT version should be C/C++ Development Tools 10.5.0.202112012329.
Not supported on Windows 7 or lower versions of Windows.
Future adaptations will be made for the latest version of Eclipse.
Install IDE
Open your Eclipse and click Help, then find the Install New Software option.
The Name input box allows for the input of WM-IDE,
The Location input box allows you to enter an address:
http://zone.winnermicro.net:60800/wmios/eclipse
or
https://zone.winnermicro.net:60443/wmios/eclipse
Then click Add. Follow the steps marked in the figure below for installation. Step two defaults to unselect (if selected, it may be time-consuming).

After installation, you need to trust this plugin and then restart Eclipse.
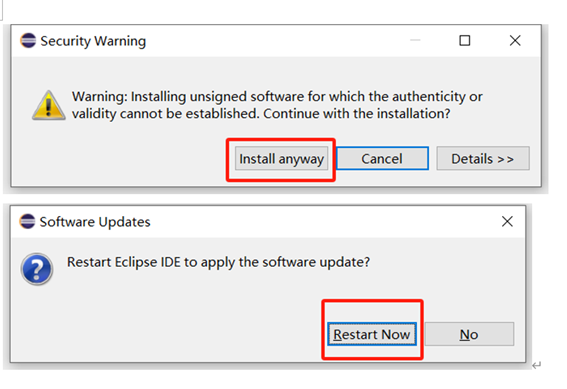
If this button appears after restarting Eclipse, it indicates successful installation.

Configure IDE
Click WinnerMicro in the function bar and find settings.
First, configure the WM IOT SDK Path (i.e., the source location), then configure the WM IOT SDK Tools Path (i.e., the tool location).
Configure the IDE environment
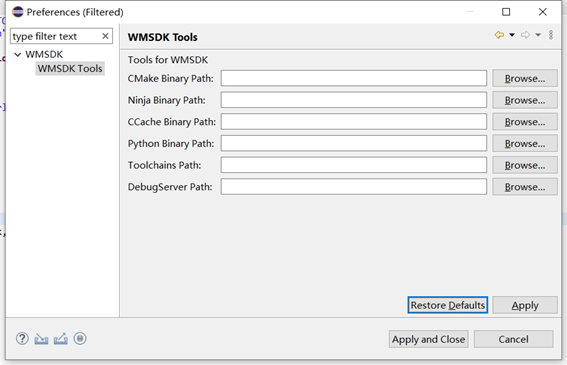
The file paths for the required tools are as follows:
CMake Binary Path:
Custom Disk\winnermicro\wmclics\cmake\bin
Ninja Binary Path:
Custom Disk\winnermicro\wmclics\ninja
CCache Binary Path:
Custom Disk\winnermicro\wmclics\ccache
Python Binary Path:
Custom Disk\winnermicro\wmclics\python
Toolchains Path:
Custom Disk\winnermicro\wmclics\toolchain\csky-elfabiv2-tools\bin
DebugServer Path:
Custom Disk\winnermicro\wmclics\c-sky\T-HeadDebugServer\bin
Create Project
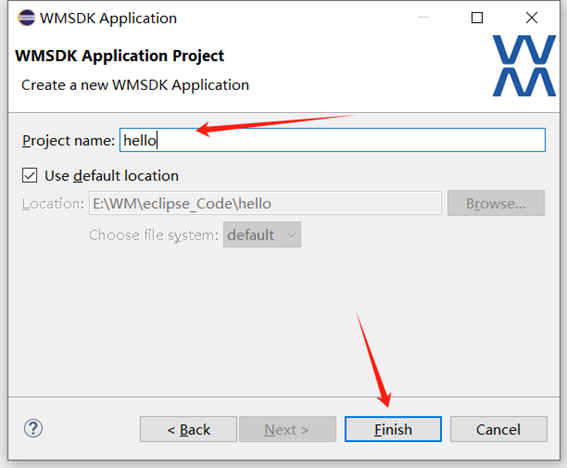
First, create a file by following the steps in the figure below.
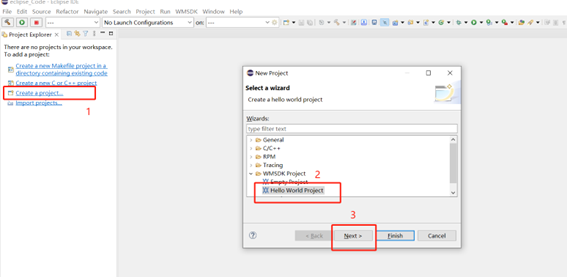
Set the file name and click Finish.
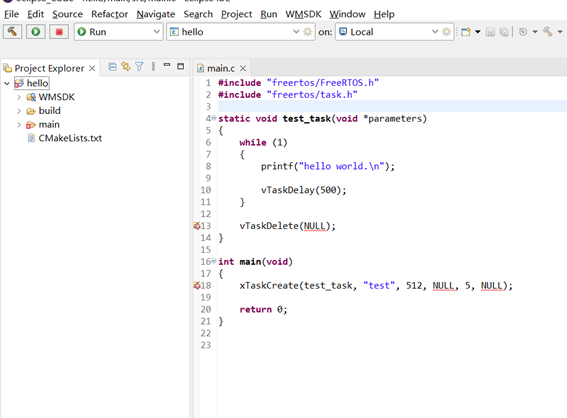
The generated interface is as follows.
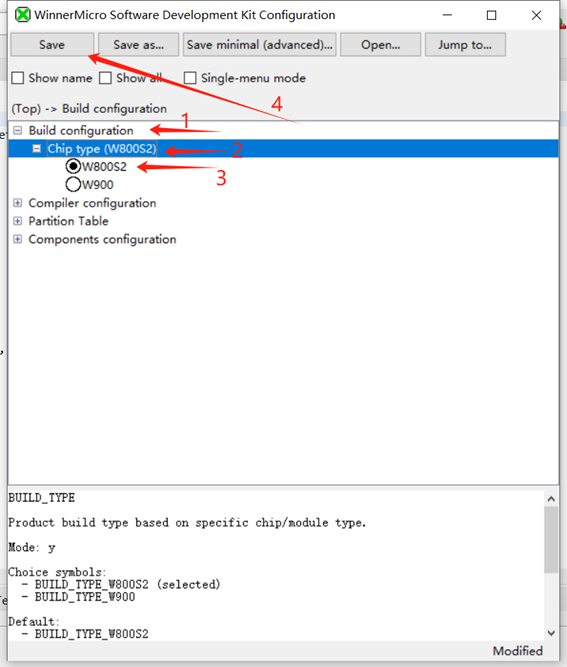
First, select the chip version by finding menuConfig in the function bar at the top of the interface.

Follow the steps in the figure below to change the chip version.
The default soc type is: W800
After the above steps, the basic configuration is completed.
Compile Firmware
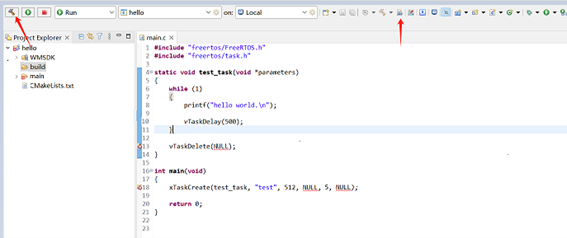
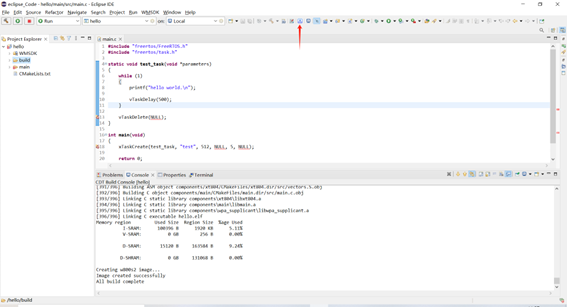
After configuration is complete, you can proceed to compile.
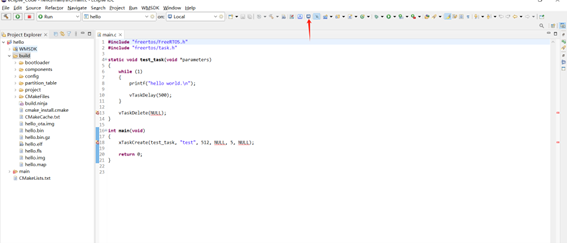
There are two ways to start the compilation, the left side is a quick compilation, and the right side is a recompile. For the first compilation, choose the right side.
You can also right-click on the project and select build project.
After clicking, the background display is as shown in the figure below, indicating successful compilation.
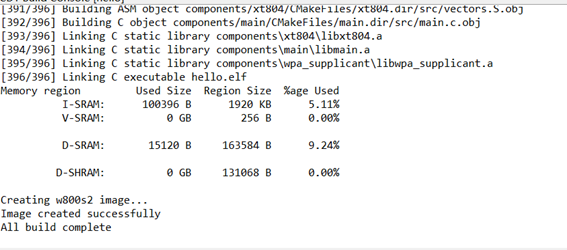
Flash the Firmware to the Chip
Click the flash button on the interface.
Then a pop-up window will appear Pop up content:
port: Indicates the port. Confirm the port number first.
baudrate: Indicates the baud rate, no need to change it.
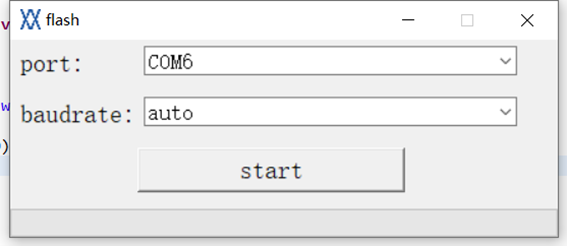
Select the correct serial port and click the start button. Follow the interface prompts until the flashing is complete.
View Running Results
Click the terminal button on the interface to display the results.
Pop up this interface to select the port and baud rate
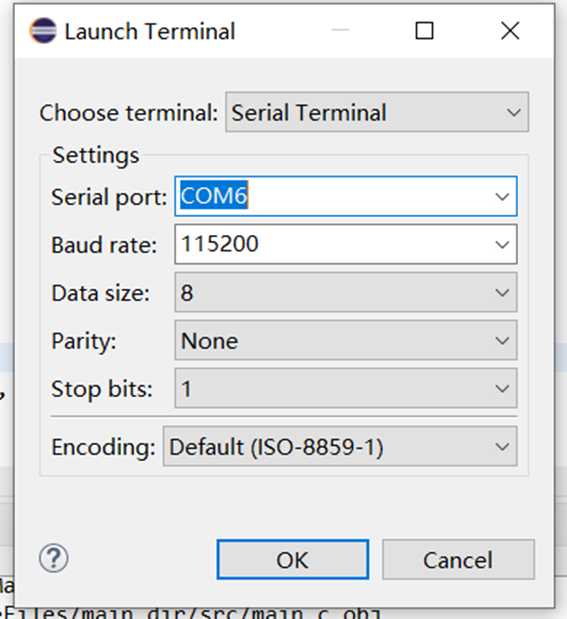
If there are no errors, the following content will appear in the console interface.

Hint
On the Windows system, we provide a one click installation and compilation environment integration package that includes Eclipse IDE. Click to download the Eclipse IDE integration package `< http://zone.winnermicro.net:60800/wmios/winnermicro_compile_suite_setup.exe >`_ .
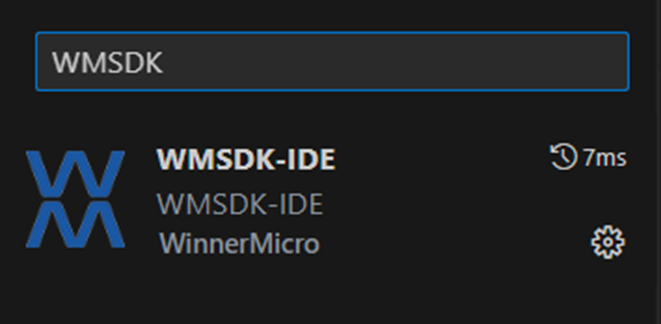
2、VS Code
After opening VS Code, click the extensions on the far left, then search for WM-IDE to install it.
To better use VS Code for WM IoT SDK development, it is recommended to install the following extensions:
Microsoft C/C++ extensions
Microsoft Serial Monitor Extension
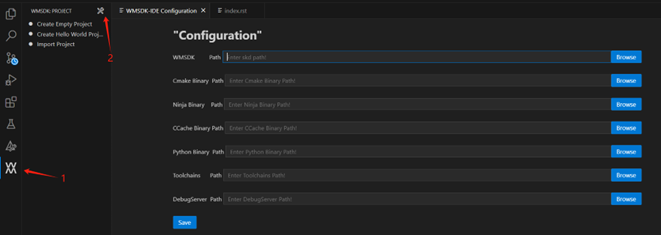
After downloading, you will find a WinnerMicro icon on the left function panel. Click this icon to configure the environment, create projects, and other operations.

When creating a project, you need to configure the IDE environment first.
The required tool paths for the IDE are the same as the tool configuration operations mentioned above for Eclipse.
After entering the project save location and project name in the project creation interface, the project will be generated.
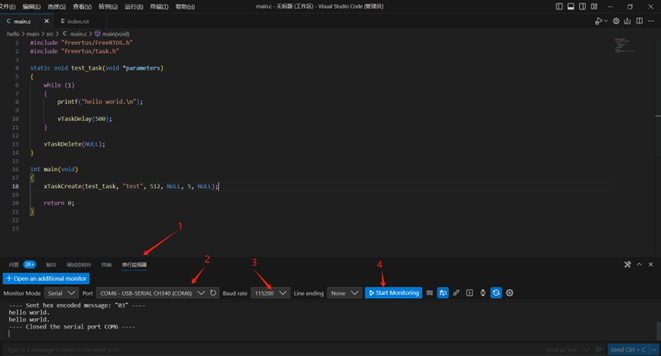
To compile, flash, and run the project files, select any project file. Such as main.c, click main.c, and then right-click:

According to the steps in the above picture:
1.Select menuconfig to open the settings menu for project configuration.
2.Compile the project.
3.Flash the firmware.
You can also select the corresponding command from the WM IoT SDK menu in the status bar at the bottom for operation.
After successfully flashing the firmware, click Serial Monitor -> Change Port Number (same as the chip port number) -> Change Baud Rate -> Run to view the running results.