IDE Compilation Environment
The following IDEs are currently available for users to use:
VS Code
Environmental Requirements
VS Code requires version V1.70.0 or higher; otherwise, the plugin cannot be installed successfully.
For Use in Windows Environment
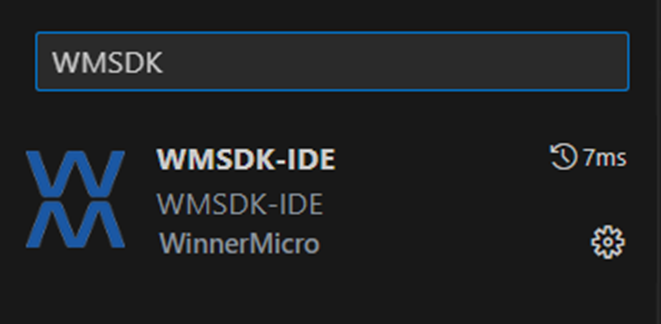
After opening VS Code, click the extensions on the far left, then search for WM-IDE to install it.
To better use VS Code for WM IoT SDK development, it is recommended to install the following extensions:
Microsoft C/C++ extensions
Microsoft Serial Monitor Extension
After downloading, you will find a WinnerMicro icon on the left function panel. Click this icon to configure the environment, create projects, and other operations.

When creating a project, you need to configure the IDE environment first.
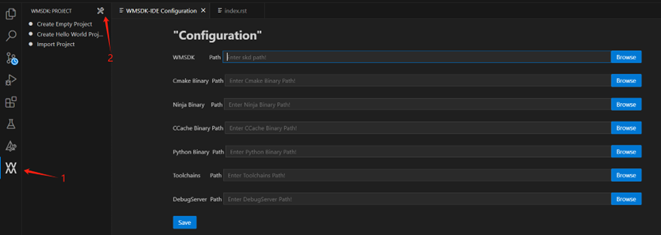
The file paths for the required tools are as follows:
CMake Binary Path:
Custom Disk\winnermicro\wmclics\cmake\bin
Ninja Binary Path:
Custom Disk\winnermicro\wmclics\ninja
CCache Binary Path:
Custom Disk\winnermicro\wmclics\ccache
Python Binary Path:
Custom Disk\winnermicro\wmclics\python
Toolchains Path:
Custom Disk\winnermicro\wmclics\toolchain\csky-elfabiv2-tools\bin
DebugServer Path:
Custom Disk\winnermicro\wmclics\c-sky\T-HeadDebugServer\bin
After entering the project save location and project name in the project creation interface, the project will be generated.
To compile, flash, and run the project files, select any project file. Such as main.c, click main.c, and then right-click:

According to the steps in the above picture:
1.Select menuconfig to open the settings menu for project configuration.
2.Compile the project.
3.Flash the firmware.
You can also select the corresponding command from the WM IoT SDK menu in the status bar at the bottom for operation.
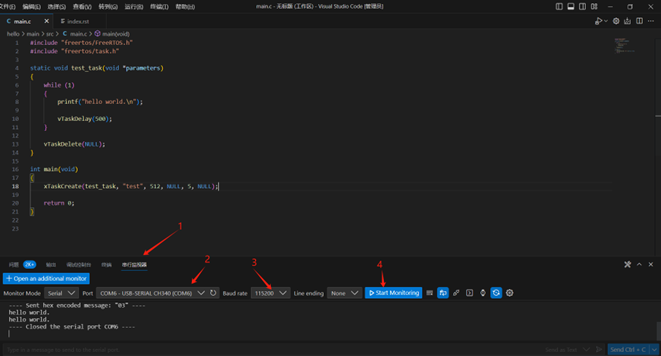
After successfully flashing the firmware, click Serial Monitor -> Change Port Number (same as the chip port number) -> Change Baud Rate -> Run to view the running results.
Usage in Ubuntu Environment
Install VS Code
- ::
sudo apt update sudo apt install code
Install the necessary toolchain
Refer to the section Download Tools in the :ref:Linux Command Line Compilation Environment Setup<_linux-system> for installation.
Hint
The usage method in the Ubuntu environment is the same as in the Windows environment.
To connect the development board, you need to install the corresponding USB-to-serial (e.g., CH34X) driver.
If the serial port cannot be opened, it may be a serial port permission issue. Try adding the user to the dialout group with sudo gpasswd –add username dialout to gain serial port access rights, or use sudo chmod 777 /dev/ttyUSB0 (based on the actual serial port used) to grant all users read and write permissions.